 Have you ever sat in your garage late at night and wondered what the guts of an antique typewriter look like? Being the well adjusted and "normal" person that you are, probably not. OHHH, what you have been missing!
Taking things apart never appealed to me before I fell into the jewelry making business. If something was taken apart or in pieces, it was simply broken. End of story. If anything in my house quit working, it usually meant that it would have to be dismantled, left on the counter for a good two weeks, and then eventually thrown away in frustration. Today things are much different. If anything is broken and beyond my ability to repair it, there is one only one alternative. (No, not the dumpster). Dissection!
Scraping parts for use in my mixed media jewelry has become a wonderful source of enjoyment. Not all the parts are used, or even saved. However, I usually come away with a few odd pieces, one or two fingers with band-aids, and a little more knowledge about engineering and how this relates to other objects you wouldn't have even thought about. It's always a surprise!
So, with no further ado....the dissection of a typewriter for your art jewelry needs.
First, open that baby up and pop the back top off to see the inside keys. Lift them up, let them drop, poke at them, compare them to your piano...you get the idea. OK, that was just your warmup. Now, on to the real how-to.
Next, you're going to want to flip the typewriter over to see the "underbelly". Believe it or not, this is the easiest way to get to the front keys without cutting up your hand or inventing some crazy tool that cuts flush at a 57.8 degree angle. Instead, grab your chain cutters (memory wire cutters) and a pair of heavy duty snips.
Now, pry off the space bar and any other metal hardware that might be screwed into place. Cutting each individual key off from the underneath will be your best bet on getting a clean(ish) cut and making this a quick job. For this particular typewriter, this was all possible using one of the two tools named above, whichever fit better at that certain angle. I was able to cuff of all the keys except the top row (numbers) and shift keys.
 Next
Next, you can appreciate the nifty job you did, look for any keys that went flying across the room, and ponder the possibility of creating a market for
medieval torture devices made from old typewriters in today's world.
 Finally
, flip your typewriter upright and get those last pesky keys off. Can you believe that you've probably just saved yourself about $75 worth of work and wasted a good 15 minutes of your time? Yep, that's right! So, the next time you go thrifting and see that beautiful old
junker sitting on the table and it's under $20, GRAB IT!
Perhaps you've been wanting to make one of these:


 Have you ever sat in your garage late at night and wondered what the guts of an antique typewriter look like? Being the well adjusted and "normal" person that you are, probably not. OHHH, what you have been missing!
 Next, you can appreciate the nifty job you did, look for any keys that went flying across the room, and ponder the possibility of creating a market for medieval torture devices made from old typewriters in today's world.
  Finally, flip your typewriter upright and get those last pesky keys off. Can you believe that you've probably just saved yourself about $75 worth of work and wasted a good 15 minutes of your time? Yep, that's right! So, the next time you go thrifting and see that beautiful old
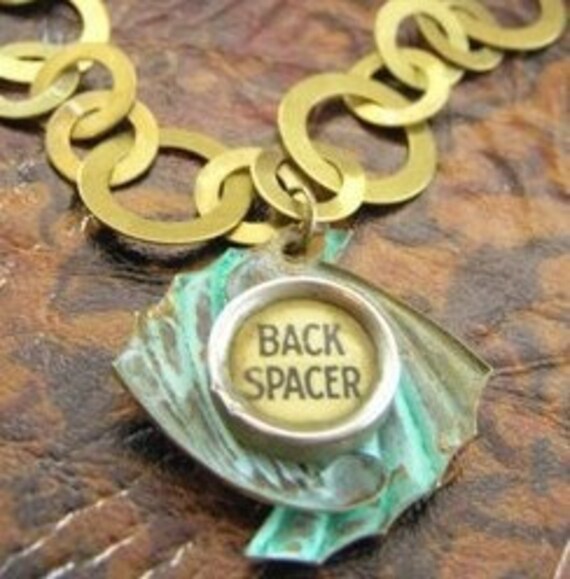
